Enter and Maintain Unposted Invoices
Use this command to enter invoices for payment.
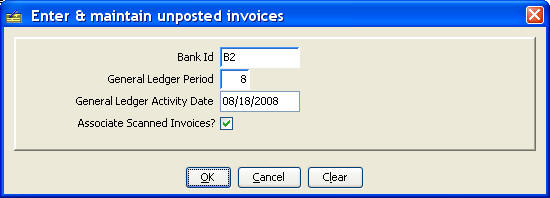
You are prompted to enter values to be applied to each invoice and to indicate whether you are going to associate scanned invoice images to the invoice coding. If associating scanned images, place the scanned images to be coded into a folder with no other files first before running this command.
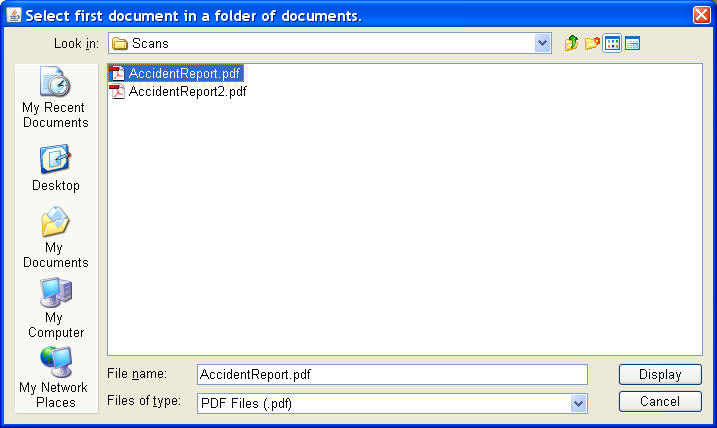
Next you are presented a dialogue where you highlight the first invoice image in the folder of images to be coded for payment. Press the 'Display' button to continue. Your system administrator may have defined a dedicated folder for placing scanned images; if so, you will not be prompted for the folder's name.
The command builds a row in the invoice entry header table for each document image and displays a list of these rows.
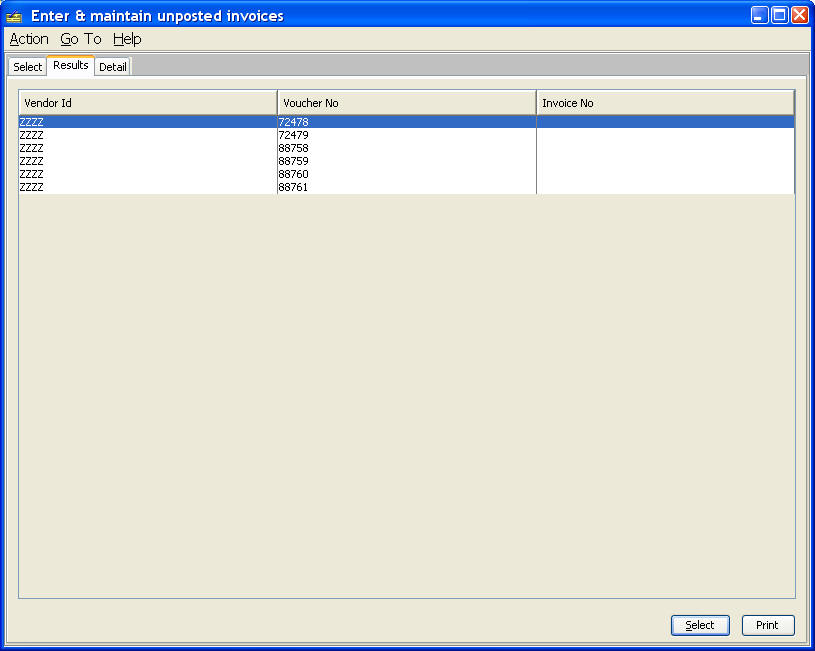
Select the first row and go to the detail tab by pressing the 'Select' button. On the detail tab enter the vendor id, invoice number, etc. You can display the invoice image with the 'Display Document' button to verify that you are coding values for the correct invoice image.
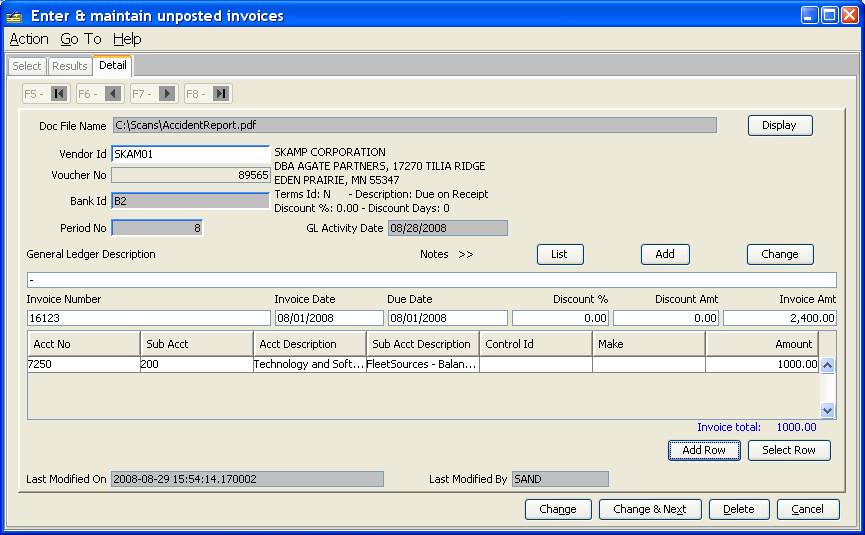
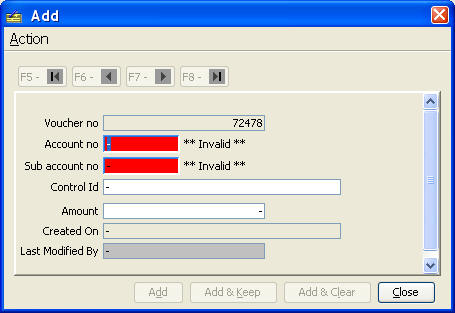
Use the 'Add Row' button to display the following dialogue to enter the account coding for the invoice.
After completing the invoice entry, use the 'Change and Next' button to go to the next row. Note that the file name is displayed on the detail tab for verification.
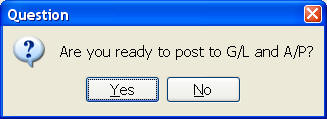
After you close this panel one is prompted to post the invoices and archive the invoice images. Respond 'Yes' to do so or 'No' if you need to make changes. The posted invoice images are automatically deleted from the images folder as they have now been stored in the database.